Blog
How to Sharpen Gardening Tools Before Winter Storage at 16 Acres Garden Center
Oct
As the leaves fall and temperatures dip, it’s time to prepare your gardening tools for their winter slumber. But before you stow them away, there’s a critical step to ensure they’re in top-notch condition for the next growing season: sharpening. Dull tools not only make gardening more challenging but can also harm your plants. In this comprehensive guide from 16 Acres Garden Center, we’ll guide you through the process of sharpening various gardening tools like clippers, trimmers, and shovels, so they’re primed to assist you in cultivating a flourishing garden when spring returns.
Safety First:
Safety is paramount. When dealing with sharp tools, don protective gear such as gloves and safety glasses to protect against accidents and injuries.
Tools and Materials:
Gather the following tools and materials for this task:
- Sharpening stones or files
- Lubricating oil
- A vice or clamp (for certain tools)
Step-by-Step Instructions:
- Inspect Your Tools:
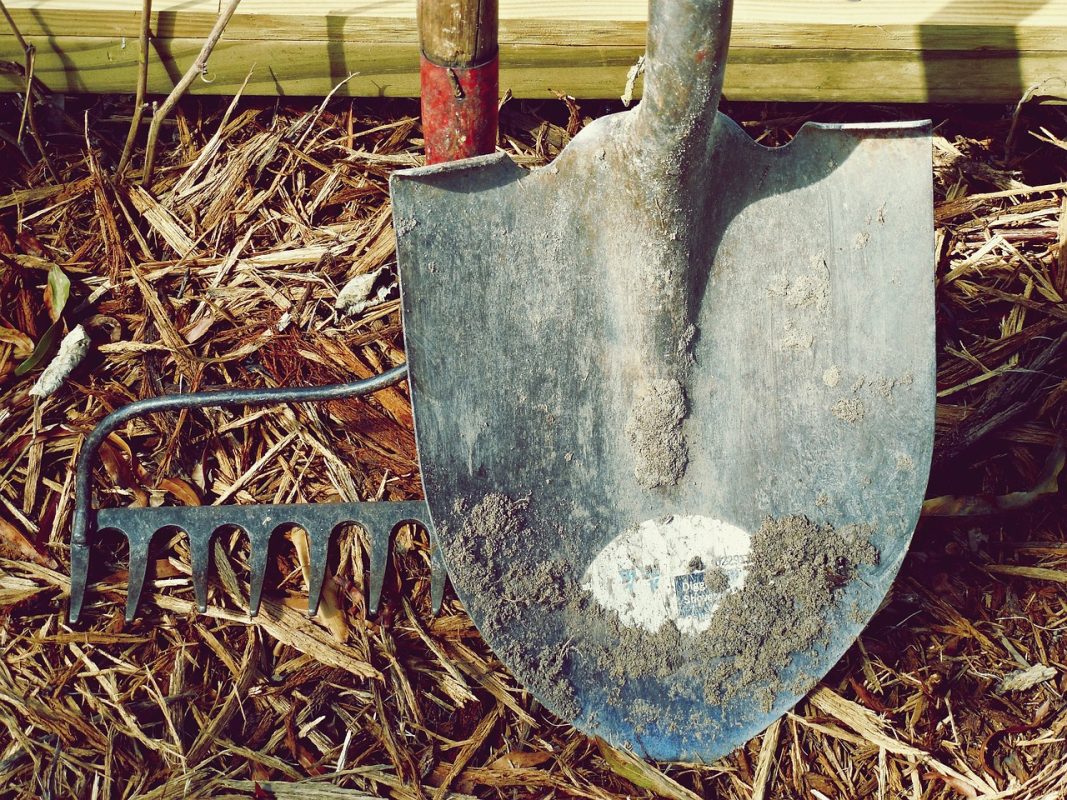
Start by examining your gardening tools for any signs of damage or excessive wear. Look for nicks, chips, or bends in the blades. If you discover any issues that cannot be resolved through sharpening alone, consider replacing the damaged parts or the entire tool.
- Clean the Tools:
Remove any dirt, sap, or residue from the tools. A wire brush or a putty knife can be handy for this. Cleaning your tools before sharpening ensures a smoother and more effective sharpening process.
- Secure the Tool:
For tools like pruners, shears, or clippers, use a vice or clamp to firmly secure them. This provides stability and enhances safety during sharpening.
- Sharpen the Edges:
Hold the sharpening stone or file at the same angle as the existing bevel on the tool’s blade. Apply even pressure and stroke the stone or file across the blade consistently. Repeat this process until you achieve a sharp edge. Be patient, as it may take several passes to restore sharpness.
- Test the Sharpness:
After sharpening, test the tool by cutting a piece of paper or a small branch to ensure it cuts cleanly and smoothly. If it still feels dull, continue sharpening.
- Lubricate and Protect:
To prevent rust and maintain the sharpness of your tools, apply a thin layer of lubricating oil to the metal surfaces. Wipe off any excess oil.
Tool Storage:
Once your gardening tools are sharp and ready, store them in a dry location, preferably on a tool rack or pegboard. This keeps them organized and safeguards them against moisture-induced rust during the winter months.
Benefits of Sharp Tools:
Using sharp gardening tools not only makes your work easier but also benefits your plants. Clean cuts heal faster, reducing the risk of disease and promoting healthy growth.
Recommended Frequency:
Consider sharpening your tools at least once per season, with additional touch-ups as needed. Regular maintenance ensures they stay in excellent condition.
With winter approaching, taking the time to sharpen your gardening tools is a wise investment in your garden’s future. Follow these steps, and you’ll be well-prepared for a successful springtime gardening season. Happy gardening from 16 Acres Garden Center!